Short answer: sow chilli seeds 0.5 cm deep in a seed tray, transplant seedlings with 4–6 leaves into a 10–12 inch pot with drainage, give them 6 hours of direct sun, water when the top 2–3 cm is dry, and feed with compost every 3–4 weeks plus a potassium-rich feed at flowering. Seeds sprout in about 1–2 weeks, and plants usually start giving chillies 2–3 months after transplanting. The best sowing times in most of India are February–March and June–July.
Step 1: Choose seeds
- Desi green chillies for everyday cooking.
- Bird's eye (dhani) chillies — small, very hot, compact plants.
- Kashmiri or other mild red varieties if you prefer less heat.
Seeds from a fully ripe red chilli from your kitchen can work: dry them for a few days before sowing. Hybrid varieties may not grow true to type, so seed-shop seeds are more reliable.
Step 2: Sow the seeds
- Fill a seed tray or small cups with light seed mix (cocopeat + a little vermicompost).
- Sow seeds 0.5 cm deep, 2–3 per cell, and cover lightly.
- Mist to keep evenly moist and keep in a warm, bright spot out of harsh sun.
- Seeds usually germinate in 7–14 days; they are slow in cool weather.
Step 3: Choose the pot and soil
- Pot: at least 10–12 inches wide and deep (about 8–10 litres) per plant, or a 12×12 grow bag. Drainage holes are a must.
- Soil: garden soil, cocopeat and vermicompost in roughly equal parts, plus a tablespoon of bone meal or rock phosphate for roots.
See our pot guide for picking between plastic, clay and grow bags.
Step 4: Transplant
When seedlings are 8–10 cm tall with 4–6 true leaves (about 4–6 weeks after sowing), move the strongest one into its final pot in the evening. Plant at the same depth, water well, and give a few days of morning sun only before moving it to full sun.
Step 5: Sun
Chillies need about 6 hours of direct sun. Less light means tall, weak plants with few flowers. In peak summer above about 40°C, a little afternoon shade helps prevent flower drop.
Step 6: Watering
Water deeply when the top 2–3 cm of soil is dry. That may be daily in hot summer for pots in full sun, and every 3–4 days in cooler weather. Uneven watering — dry, then soggy — causes flower and fruit drop. Mulch the soil to keep moisture steady. See our summer watering schedule.
Step 7: Feeding
- Every 3–4 weeks: a handful of vermicompost mixed into the topsoil.
- At flowering: a potassium-rich organic feed every 2–3 weeks for more fruit.
- Avoid too much nitrogen (like heavy mustard cake) once flowering starts — it gives leaves instead of chillies.
Details in our kitchen garden fertilizer guide.
Step 8: Pinch and support
Pinch the top when the plant is about 20–25 cm tall to encourage side branches and more fruit. Tie the main stem to a stick once it starts fruiting, so wind and fruit weight do not snap it.
Step 9: Harvest
Pick chillies green when they are full size and firm, or leave them to turn red for more heat and flavour. Regular picking encourages more flowers. Use scissors to avoid tearing branches, and wash hands after handling hot chillies.
Helping flowers turn into chillies
Chilli flowers can pollinate themselves, but on enclosed balconies with no wind or insects, many flowers drop without setting fruit. Gently tapping the flowering branches or shaking the plant lightly every morning helps the pollen move. A small brush touched from flower to flower also works. Grow a few flowering plants like marigold nearby to attract bees.
Common chilli problems
| Problem | Likely cause | Fix |
|---|---|---|
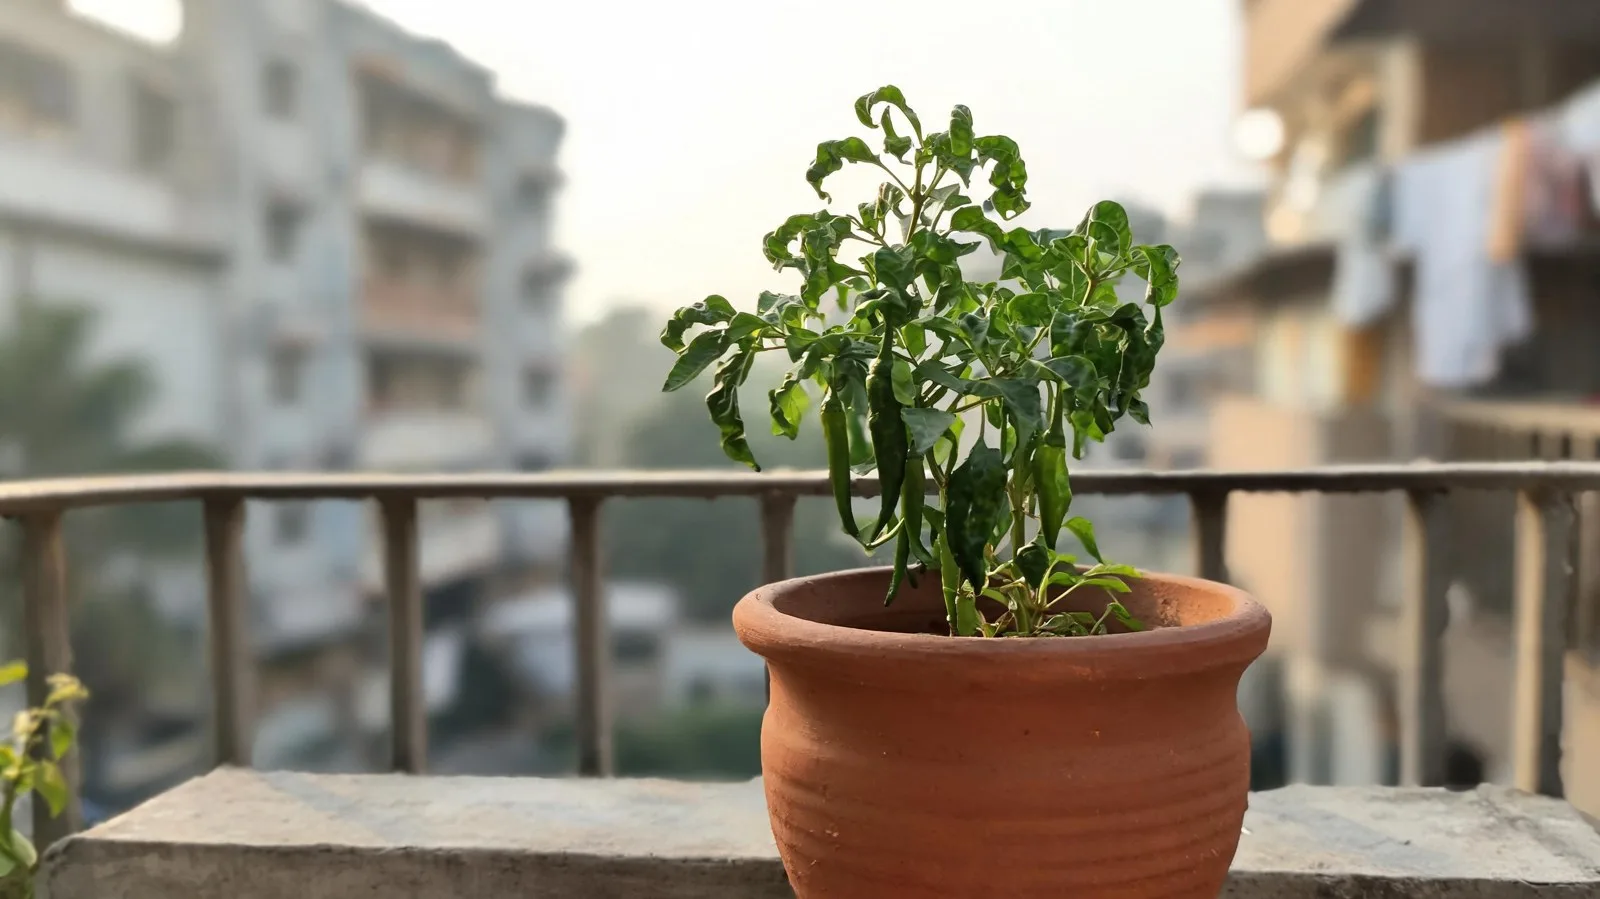
| Leaves curling, crinkled, plant stunted | Sap-sucking pests (thrips, mites, aphids, whiteflies) or leaf curl virus they spread | Check undersides; wash and spray neem oil weekly; remove badly virus-affected plants |
| Flowers dropping | Extreme heat, uneven watering, too much nitrogen | Afternoon shade, steady watering, potassium feed |
| Yellow lower leaves | Overwatering or low nitrogen | Let soil dry slightly; add compost |
| Dark sunken spots on fruit | Anthracnose (fungus) | Remove infected fruit; avoid wetting plants; harvest often |
| Tall, thin plant, few flowers | Too little sun | Move to full sun |
Neem oil spray: about 5 ml per litre of water with a few drops of liquid soap, sprayed in the evening. Wait a few days and wash chillies well before eating. For rainy-season problems, see monsoon plant diseases.
Check your plant's problem from a photo
Leaf curl can come from several causes. Upload a close photo of the curled leaves (top and underside) to our free plant diagnosis tool.
Frequently asked questions
How long does a chilli plant take to give chillies?
Usually about 2–3 months after transplanting, depending on variety and weather.
How long does a chilli plant live in a pot?
With good care, a chilli plant can keep producing for 1–2 years. Prune it back lightly when production drops.
Why are my chilli flowers falling?
Heat above about 35–40°C, irregular watering or too much nitrogen. Shade in the afternoon and keep watering steady.
Can I grow chillies indoors?
Only on a very sunny windowsill. Most indoor spots do not give enough light for fruiting.
How many chilli plants per pot?
One plant per 10–12 inch pot gives the best yield.